How to Use eSIM Io for Seamless Travel in India in 2026
9/29/2026
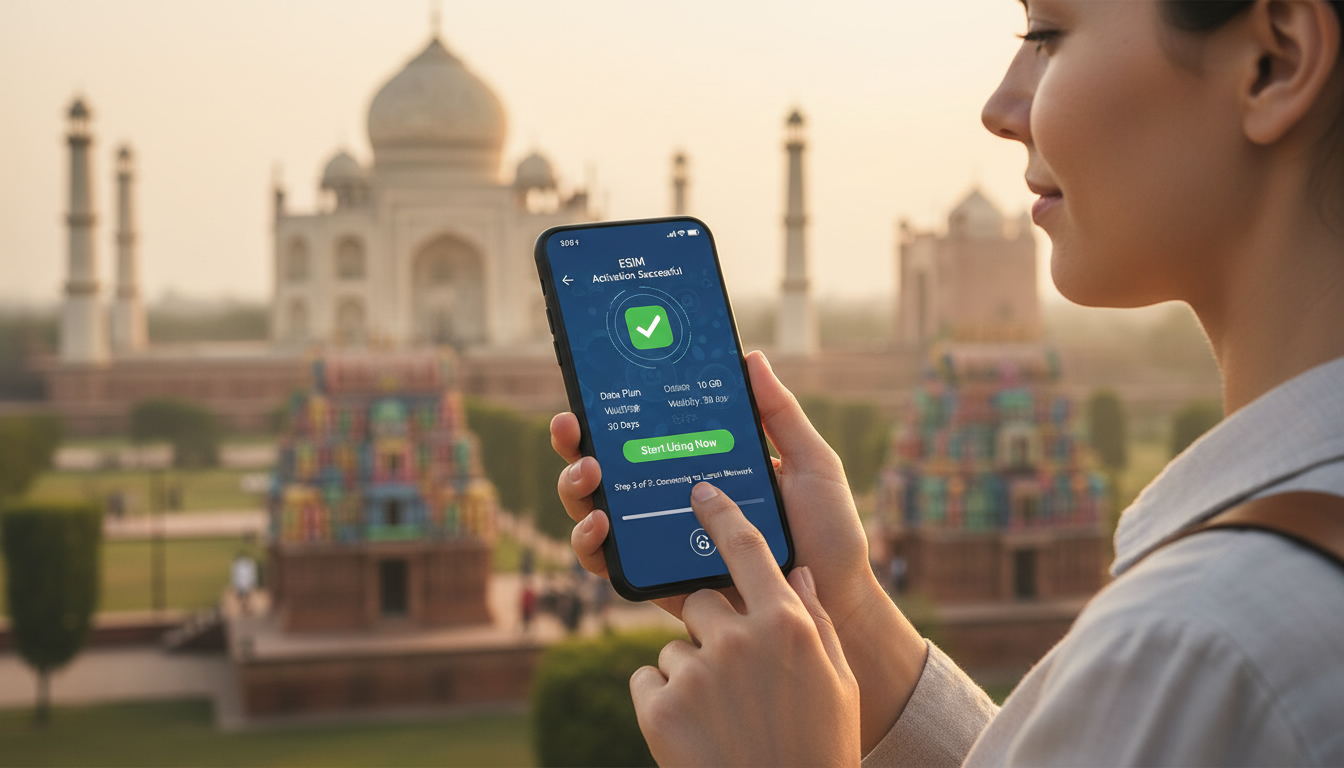
How to Use and Activate eSIM io for Seamless Travel Connectivity in India
If you’re planning a trip to India and want to avoid the hassle of swapping physical SIM cards or paying hefty roaming fees, using an eSIM like eSIM io can be a game changer. eSIM io offers instant activation of data plans across 200+ countries, including India, with no contracts or roaming charges.
But setting up an eSIM for international travel isn’t always straightforward. I always start by understanding the activation process and common pitfalls to ensure smooth connectivity on the go.
Here’s a practical, step-by-step guide to using and activating eSIM io, focusing on what travelers really need to know to stay online effortlessly in India.
Understanding the eSIM io Platform and Its Benefits
eSIM io is a digital SIM service that lets you buy prepaid or pay-as-you-go data plans without needing a physical SIM card. This means you can switch carriers or plans instantly through your phone’s settings, which is ideal for travelers who want flexibility and convenience.
Key Benefits of eSIM io for International Travel
- Instant Activation: Once you purchase a plan, the eSIM profile is downloaded immediately via QR code or app, so you can start using data right away.
- Wide Coverage: Supports over 200 countries including India, which means you don’t have to worry about regional restrictions.
- No Contracts or Roaming Fees: You pay only for the data you use with no hidden charges.
- Reusable Profiles: The “OneSIM” feature allows you to reuse the same eSIM profile across multiple trips without reinstalling it.
- Compatible Devices: Works on most modern smartphones with eSIM support like iPhone XS and later, Google Pixel 3 and newer, Samsung Galaxy S20 and above.
These benefits make eSIM io attractive for travelers who want hassle-free internet access abroad. However, the activation process requires careful attention to avoid common mistakes that can disrupt connectivity.
Step-by-Step Guide to Setting Up an eSIM io Profile
Setting up your eSIM io profile involves several precise steps. Missing one can cause delays or loss of connectivity, so here’s how I approach it:
Step 1: Check Device Compatibility and Software Version
Before buying any plan, verify that your phone supports eSIM technology. For example, Apple’s iPhone XS and newer models support eSIM natively from iOS 12.1 onwards.
Android devices like Google Pixel 3 or Samsung Galaxy S20 require Android 10 or later with carrier support.
Field observation: If your device’s software is outdated or carrier restrictions apply, the eSIM profile installation may fail or not activate properly.
Step 2: Purchase an eSIM io Data Plan Suitable for India
You can buy plans directly from the eSIM io website or their app available on Apple App Store and Google Play Store. Plans vary by data volume and validity period; choose one that fits your travel length and usage.
Important: Prices vary widely depending on data size and duration. For example, some providers offer 3 GB valid for 30 days at around $3-$5 USD in India.
Always compare plans on trusted platforms like MyBestSim before purchase.
Step 3: Download the eSIM Profile Using QR Code or App
After purchase, you’ll receive a QR code or a link in the app to download your eSIM profile. On iPhones:
- Go to Settings > Cellular > Add Cellular Plan
- Scan the QR code provided by eSIM io
- Follow prompts to install the profile
On Android:
- Go to Settings > Network & Internet > Mobile Network > Advanced > Carrier > Add Carrier
- Scan QR code or enter activation code manually if needed
Field observation: Over-tightening security settings (like VPNs) during installation can block profile download; disable VPN temporarily if installation stalls.
Step 4: Activate Your Data Plan and Configure Settings
Once installed, select the new eSIM line as your active data source. You may want to disable your physical SIM’s data roaming to avoid unexpected charges.
Field observation: Some devices require manual selection of the new line as default for cellular data; failure to do so results in no internet despite successful installation.
Step 5: Test Connectivity Before Departure
Always test your new eSIM connection while still at home Wi-Fi. This ensures the plan is active and working before you rely on it abroad.
If issues arise, check signal strength, airplane mode toggling, or restart your device. If problems persist, consult troubleshooting guides specific to “troubleshooting esim io issues.”
Common Pitfalls When Using eSIM io and How to Avoid Them
Travelers often stumble on a few recurring issues when activating an eSIM io profile. Knowing these ahead saves time and frustration.
Pitfall 1: Incompatible Device or Outdated Software
Trying to install an eSIM on unsupported devices leads to failure messages or invisible profiles. Always confirm compatibility with your phone model and OS version before buying any plan.
Pitfall 2: Ignoring Carrier Restrictions in India
India has strict telecom regulations requiring local verification for some services. While many international eSIM providers bypass this with prepaid data plans, some users report intermittent disconnections if their device tries connecting via local carriers not supported by their plan.
Pitfall 3: Overlapping SIM Profiles Causing Conflicts
If both physical SIM and eSIM are active simultaneously without proper configuration, network conflicts occur causing dropped connections or inability to switch networks seamlessly.
Field observation: Setting one SIM as primary for calls/data while disabling others prevents such conflicts; this is especially important when traveling within India where network switching is frequent.
Troubleshooting Tips for Smooth Use of eSIM io in India
When connectivity issues happen despite following setup steps, these troubleshooting tips help:
- Restart Your Device: Simple but effective; resets network modules.
- Toggle Airplane Mode On/Off: Forces network re-registration.
- Check APN Settings: Sometimes manual APN input is required for Indian carriers.
- Reinstall Profile: Delete then reinstall the eSIM profile if corrupted.
- Contact Support: Use official channels via the app or website for personalized help.
For more detailed steps on troubleshooting and choosing the best plan for India travel, I recommend visiting this guide on buying an eSIM for India.
Choosing the Right Data Plan on eSIM io for Your Trip
eSIM io offers flexible pay-as-you-go options without contracts. Pricing depends on data volume and validity period chosen at purchase.
Since prices fluctuate by provider and seasonality, I always advise consulting comparison tools like MyBestSim before committing.
Here are some typical providers offering Indian data plans compatible with international travelers:
| Provider | Data Volume | Validity (Days) | Price (USD) | Notes |
|---|---|---|---|---|
| JamboSim | 3 GB | 30 | $3.99 | Popular for stable coverage |
| Yatelo | 3 GB | 30 | $4.26 | Good balance of price & speed |
| LinkeSIM | 3 GB | 15 | $5.30 | Shorter validity option |
| Ubigi | 5 GB | N/A | $7 | Larger volume but pricier |
Prices sourced from MyBestSim comparison platform reflect current market rates as of mid-2024.
Final Advice: How I Approach Using eSIM io When Traveling in India
I always start by confirming my device supports eSIM with up-to-date software because that’s non-negotiable for success. Then I carefully select a plan based on my trip duration and expected data needs using reliable comparison tools like MyBestSim.
During activation, I watch out for installation traps such as VPN interference or incorrect default line selection—these are common causes of failure that travelers overlook. Testing connectivity before departure saves headaches once abroad.
If you want a smooth experience in India without juggling physical SIM cards or roaming fees, mastering these steps with eSIM io is essential. For detailed insights into which Indian networks provide best coverage through various providers including Jio, Airtel, and Vi, check out this comprehensive resource. It helps tailor your choice further based on real network performance across regions.
By following this practical guide closely, you’ll avoid typical pitfalls and enjoy seamless internet access throughout your Indian journey with minimal fuss.
FAQ
How do I activate an eSIM io profile on my phone?
To activate eSIM io, purchase a data plan, then scan the provided QR code via your phone’s cellular settings. Follow prompts to install the profile and select it as your active data line to start using mobile data immediately.
Which devices are compatible with eSIM io for travel?
eSIM io supports most modern smartphones with eSIM capability, including iPhone XS and newer, Google Pixel 3 and above, and Samsung Galaxy S20 or later. Ensure your device runs the required OS version for smooth activation.
What common issues should I avoid when using eSIM io in India?
Avoid using outdated devices or software, check for carrier restrictions in India, and properly configure your SIM profiles to prevent conflicts. Disabling VPNs during setup and selecting the correct default data line also helps ensure connectivity.
How can I test my eSIM io connection before traveling?
Test your eSIM io connection at home using Wi-Fi by activating the profile and verifying internet access. Restart your device or toggle airplane mode if issues arise to confirm the plan is working before departure.
What are the best data plans on eSIM io for India travel?
Choose plans based on your trip length and data needs; popular options include 3 GB for 30 days at around $3-$5 USD. Use comparison tools like MyBestSim to find affordable, reliable plans from providers such as JamboSim, Yatelo, and Ubigi.

Anjali Rao
Anjali is a travel and technology writer who has criss-crossed India by train, plane and rickshaw. At India eSIM she tests travel data plans on Jio, Airtel and Vi and explains how visitors can stay online affordably from Delhi to the backwaters of Kerala.